Showing posts with label Crafts. Show all posts

Friday, 4 December 2015

Sarah & Teeken's 25 days of tea!


I have experienced first hand just how lovely it is to receive something that has been handmade especially for you.  

One of my best friends called me and gave me strict instructions that I had to come over and open a present on December 1st. As any sane person would act when forced to open a present, I willingly obliged. 

Sarah and Teeken had made me my own advent calendar, but with a twist. Every day contained a different variation of tea bag with a hand written quote. The girls had made the whole thing themselves and obviously put a lot of time into it, which almost made me cry! {I'm very soppy these days}


You will need:

  • MDF or lightweight wood panel. You could upcycle an old floorboard? 
  • Nails and a hammer 
  • Rope {thin but strong enough to hold the weight}
  • Pouches- they got theirs from Amazon.
  • Black paint and thin paintbrush- acrillic 
  • The fillings of your advent calendar
  • Your choice of material to cover your wood
  • Drill

How to make:

Cover your wood in your choice of material. The girls used Indian newspaper for me- to go with the tea theme and my job! If you are using MDF, PVA glue should do the job if you are covering it in paper. 

Mark out 25 points to hammer your nails into and give them a good old bash!

Sarah individually painted the numbers onto the little bags. Fill the bags with the contents of your choice. Little chocolates maybe? 

These calendars are also perfect for kids or adults {you're never too old for a advent calendar} who can't eat chocolate. Another nice idea would be to fill each bag with lego or something they can collect over December. 

I've got a collection of crystals, I believe that each crystal has a healing property. So that would also be a nice idea, fill each bag with a different crystal {you can pick them up for a few quid} and the properties they contain. 

My calendar is hanging on my wall, the girls drilled two holes in the top and attached thin rope through the holes. 

Like I said, this was Sarah and Teeken's creation so my instructions are a little ropey!

Thanks girls, they cheer me up every morning! 


Have a lovely weekend! H xxxx


Sunday, 15 November 2015

Popping the collar on Karen Fox


I think one of the coolest jobs in the art industry is jewellery making. To make something unique that someone {or yourself} can wear is like carrying around a piece of their creativity- and that is a very special thing. 

I bought my beautiful ring from Karen Fox, a very talented jewellery maker based in North London. Karen's projects tend to have a historic angle, she finds the Elizabethan era fascinating, with its fine detailing, opulence and dramatic scale. Her 'Ruffle' range is inspired by Elizabethan collars.


Meet Karen Fox:

Karen grew up in a family of engineers and artists in Devon. After moving to London, Karen found herself working in a job which stifled her creativity. After realising that she needed an artistic outlet she enrolled on an evening class at the City Lit in Jewellery and Silversmithing. 

Once Karen's children had started school, she completed a BA (Hons) in Silversmithing and Jewellery at The Cass, London Metropolitan University. Since 2011 Karen has been building up her jewellery business by taking part in shows around the country and selling her work through shops and galleries.  
  
When I asked Karen what her favourite part of jewellery making is she said when things turned out the way she imagined them to be. She talks about making jewellery as being both a physical and mental task and that you are very much in the moment. The handmade techniques of forging and soldering on each piece means that they all have individual quirks. 


As well as making stunning jewellery, Karen enjoys sewing. Her degree show collection was made from pleated and sewn stainless-steel mesh cloth.

" I used to knit, crochet and sew as a teenager- I've made a fair few curious jumpers and trouser shirts in my time!"


Karen's words of wisdom for budding jewellery makers:

"I would advise anyone going into the jewellery business to develop their own personal style and build up their CV as much as possible. By that I mean entering competitions, applying to take part in exhibitions and apply for work experience with established artists."

Karen explained that most of the jewellery makers she knows work in part time jobs elsewhere to support themselves. She said not to expect to make money straight away! She told me how practise is incredibly important and can sometimes provide inspiration.


She's given me the motivation to get my jewellery making box out... 

Have a great week! H xxx


Tuesday, 3 November 2015

How to make lip balm


I've noticed in the past few weeks the dreaded dry skin has made an appearance. The central heating and weather change makes my skin go mental every year so I am preparing myself for the elements. The best thing about making your own balm is you can customise them however you choose! 

I'm in love with Burt's Bees products, especially as they're natural and aren't tested on animals. So I had a little scout for recipes and came across a simple one that I adapted. 

I've made tea tree lip balm for sore chapped lips, sunflower balm which smells AMAZING and also doubles up as a solid perfume, tinted rose lip balm and lavender lip balm- a calming smell for those who are prone to anxiety. 

{I invited the girls round for a making session, they really got into it!}

You will need:

  • Beeswax (can buy off Amazon!)
  • Shea butter (Amazon too!)
  • Coconut oil (You can get this from any super market)
  • Essential oils
  • Petals 
  • Lipstick (for the tinted balm)
  • Pots- I got mine for a few quid on... you guessed it... Amazon!


How to make:

(This is to make 8-12 pots) 

Heat water in a pan and put a glass bowl over it- making sure the water doesn't touch the bottom of the bowl. 

Scoop a teaspoon of beeswax, shea butter and coconut oil and put into the glass bowl to melt. Wait until the mixture is completely melted. 

For tinted: cut off a chunk of lipstick, I recycled one I haven't used in years! Melt this into the mix.

Turn the heat off, but keep the bowl over the hot water and add the essential oil, do this to your liking. I put 5 drops in mine- you don't want it too strong!

Line up your pots ready, when you take the bowl off the heat the balm solidifies pretty quick so you've got to move fast! 

Pick up your bowl and pour your balm SLOWLY AND CAREFULLY into the pots. Use oven gloves! 


If you want to add petals, make sure they are ready to sprinkle into the hot balm. 

Leave your pots to set on a flat surface, give them at least 12 hours to set and then you are good to go!

{I gave Raz (my bestie at work) a pot of the 'pink peppermint' tinted balm. Her first reaction was "what?! how does it look so professional?!"}


Happy making :) 

Hana xxx


Wednesday, 28 October 2015

Hana meets Odds & Suds!


Odds & Suds

If you’re interested in starting a soap making business, these two are your inspiration. I met with the brilliantly creative couple behind Odds & Suds, a natural handmade soap company.

Jenny has been making soap now for 15 years, a business which started in a cosy kitchen and flourished into the thriving success it is today. 


The story behind the suds 

Jenny originally learned to paint with Annie Sloan and began painting furniture as well as making a furniture polish from turpentine and beeswax. In 2014 she was asked to take part in BBC 2’s Great Interior Design Challenge in Brighton. For her project she decorated a kitchen, giving it a gorgeous rustic French theme. 

Jenny decided that interior design wasn’t her calling and began to make solid hand cream, which she sold for 3 years at Tavistock Pannier Market. Soaps were a natural progression in Jenny’s mind so armed with a soap recipe book, pans and whisks- she took a step into the world of soap making! Soon enough, Odds & Suds out grew the market stall, so Jenny opened her first shop in Tavistock and has never looked back.   


Odds & Suds in the spotlight

Following the success of the Tavistock shop, Jenny opened second shop in Ashburton. The shop and their beautiful house featured in Country Living as part of a 4 page spread.

In 2009, Jenny appeared on one of my favourite programmes, Kirstie’s Handmade Christmas, on Channel 4. She taught Kirstie how to make soap in the Odds & Suds shop. Jenny told me as they settled down on the sofa to watch the show, the orders began pouring in and the website crashed!


{Jenny showing Kirstie the ropes!}

Jenny after her TV appearance: “I drove to the shop and noticed a queue of people outside. I thought that’s funny, they must be waiting for a bus or something. I then realised they weren’t waiting for a bus… they were waiting for me to open the shop. It was crazy, we literally ran out of soap.”

From there it was a change of direction for Odds & Suds. The couple worked hard to transform their horse stables into a work shop fit for producing their soap on a larger scale to enable them to sell to the wholesale market. 

After chatting with the couple about their exciting plans, I got the impression from Jenny that she missed the homely kitchen atmosphere that was once her work area. “I do miss working in the kitchen but we’ve now got the capacity to make 3000 bars a week, so it’s still artisan but just not as cosy! I think a lot of producers get to that point, you become very busy with what you’re doing and you make that leap to become a producer.”

She described any crafting business as making monsters that need constant feeding and I couldn’t agree more! 


The Odds & Suds family

Today, Jenny owns the shop in Tavistock, Kelly runs and owns the Odds & Suds shop in Ashburton, Rosy has her own Odds & Buds florist and Matthew owns a tanning shop in Tavistock called Odds & Sun and also works in theatre production. 


Jenny’s tip for crafters:

“Keep it simple! So many crafters fall into the trap of doing too much but actually less is more.” 

For those of you wanting to go into soap making to sell, you have to have your products tested to make sure they are safe to the general public.


Jenny and John will be at The County Living Christmas Fair (Islington's BDC from 11 – 15 November). Their shops are already stocked for Christmas and if you aren't able to swing by then check them out online at www.oddsandsudstavistock.com or telephone 01822 618111- I've already placed my order! 

Hana xxx 

Tuesday, 20 October 2015

Hana meets Zeena Shah! {blog hop}


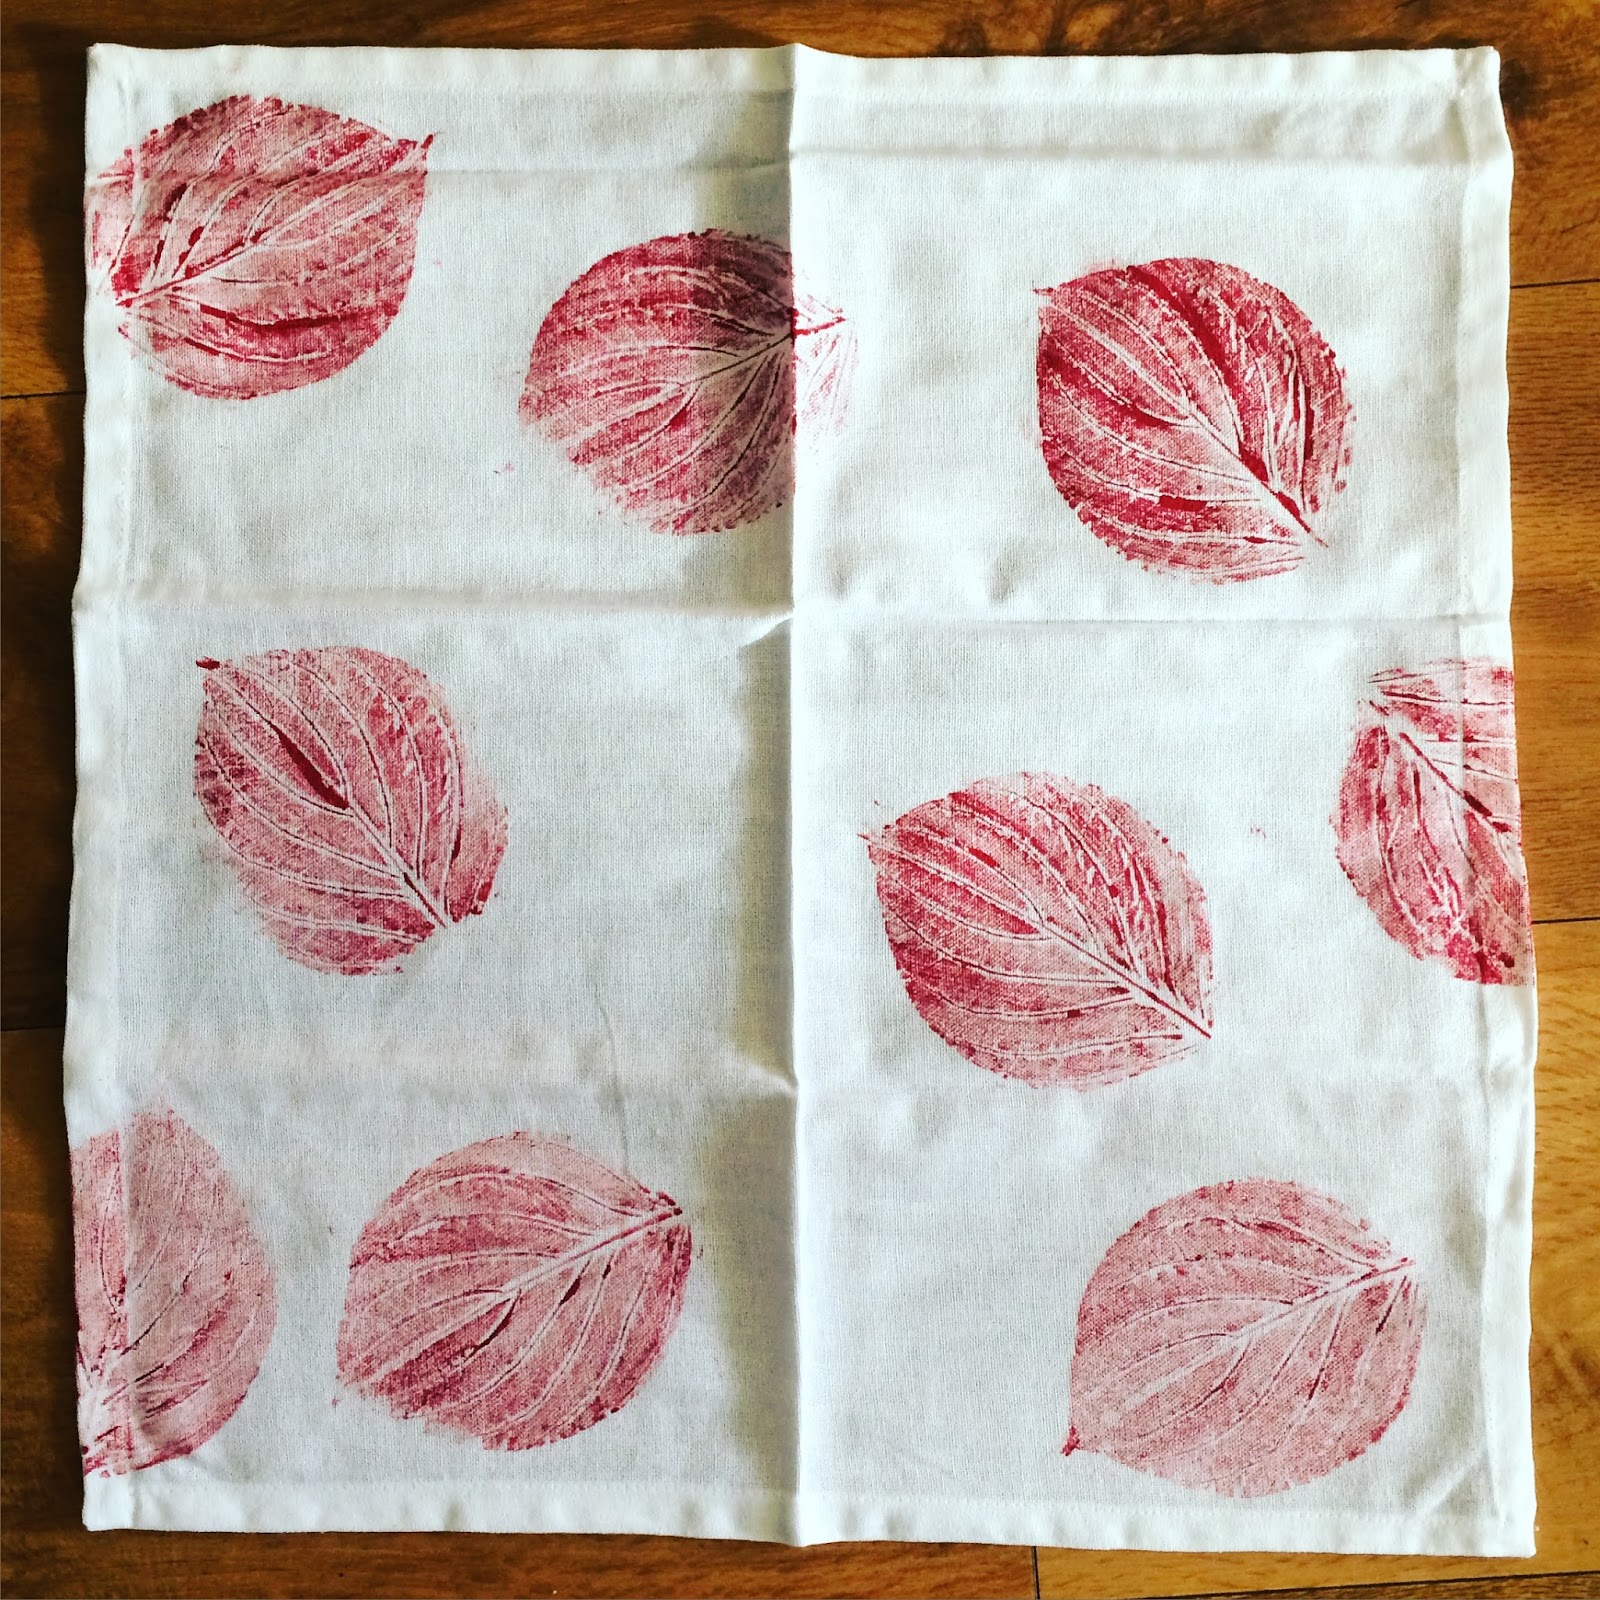
I was asked by the team at Stitch Craft Create {http://ideas.stitchcraftcreate.co.uk/how-to-print-fabric-blog-hop/} to take part in a 'blog hop' for Zeena Shah's brilliant new book- How To Print Fabrics. I've given her fallen leaf tea towel design a go and free styled a bit with some napkins! 


If you are into fabric printing, textiles or creating gorgeous home accessories Zeena really is your girl. Her book is so easy to follow and her projects are for all abilities. It's full of different mark making ideas, pillows, bags, screen printing and more, which are all right up my street. 


Funnily enough, I met Zeena at Kirstie Allsopp's Handmade Fair in September and took one of her workshops! She taught us how to make lino printed stationary, which was great fun and very effective. 


You'll need to grab a copy of the book {shameful plugging of me there} to know how to make these cheeky little numbers- I've already ordered mine! Just follow the link- http://www.stitchcraftcreate.co.uk/how-to-print-fabric#.VidFcsZVhHw


Love Hana xxx

Turn your jeans into a wheat bag!


It's that time of the year when everyone seems to be dropping like flies. Everywhere I go I'm followed by constant sneezes, bunged up noses and sniffles. When you're poorly you just want to get cosy on the sofa in your jim jams so I've made the ultimate lavender scented sickness buddy. 

Throughout my life I've always had a wheat bag, you know, one of those things you bung in the microwave and cuddle up with. They are also my first point of call when I have any aches or pains!  

These are super easy to make and a great way to recycle your old jeans or jumpers!


You will need:

  • Cotton based jeans or a jumper sleeve
  • For your filler you can use: Uncooked rice, wheat, oats, seed feed. {I used rice}
  • Sewing machine or hand sew with needle and thread
  • Lavender {you can use other scents!}
  • Lavender oil  
  • Dress makers pins

How to make:

Cut one of the legs or sleeves of your jeans or jumper to a legnth you would like your bag to be. Give yourself an extra inch for when you sew.


Turn the material inside out and fold over each end and pin down. 


I still don't own a sewing machine {it's on the wish list!} Sew above the pins, making sure your stitches are close together. 

Do the same for the other end but leave a gap of 2 inches. 

Turn your fabric back the right way by feeding it through the gap you've left. 

Then in a bowl mix your filling with picked lavender and 5 drops of oil. Use a funnel and pour the mix into the bag. 

Sew up the 2 inch gap and if you have a little label then you can stick that in there too! I've got little cute ones I ordered online which say 'handmade by Hana' on. 

And that's it! I wanted to keep mine simple but you can decorate these in any way you choose- just check the material is microwavable. 


Hana xxx


Saturday, 17 October 2015

Fabric notebook holder {the 'list maker's' best friend}


I am a serial list writer. On a scary level. My desk is littered with post it notes, scraps of paper with 'TO DO' scribbled across the top of a list that is physically impossible to achieve in a day. So I thought I would make myself a pouch to keep my notepad and pen together.

There was a little bit of making up the rules as I went along but I'm happy with how it turned out!

{I'm going to keep my shorthand notebook in mine!}

You will need:

  • 2 A4 sheets of felt- 50p per sheet in Hobbycraft! 
  • Fabric scissors or decent kitchen scissors
  • A hairband
  • embroidery/ thick thread
  • Thick sewing needle 
  • A button

How to make:

Fold one sheet of felt in half. With the other piece of felt choose the size you would like the pocket to be. Cut it out.

Work out where you would like your button to be and stitch it onto the front of your folded felt, I used with the thinner needle and thread. On the back line up a hairband and stitch in place. 

Cut a smaller pocket for your pen holder. I chose a heart. N'awww.
Make two slits for your pen to slide into.

Stitch the heart onto the pocket. Stitch the pocket into your folded felt {I used a thinner needle and thread because the holes were too small}. 

Decorate which ever way you choose and you're all set! Have a lovely weekend! I've got a new instagram account so feel free to follow: @hanamaymakes 


H xx 


Thursday, 15 October 2015

Hana has Tea with Jud!

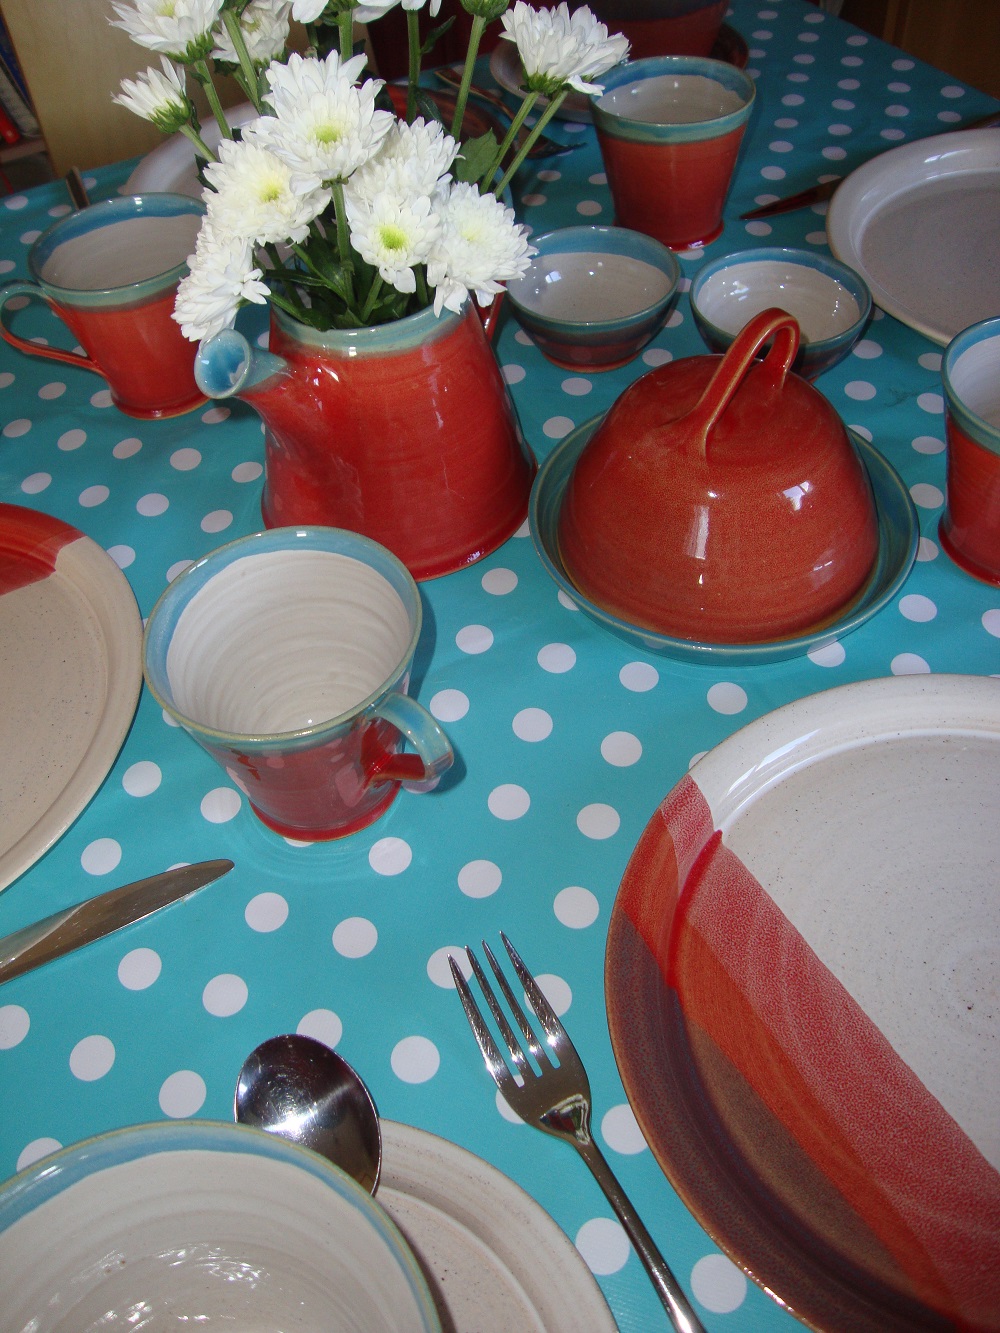
{Jud's handmade breakfast spread}

Many moons ago I embarked on a 6 month adventure and worked in Tignes in France on a ski season. It was there that I met the wonderful Jud Pollock. On a season you have very little time to just do nothing, but for the Skiworld seasonaires of 2011 the down time craze was knitting and the queen of knitting was Miss Pollock. Jud is the founder of Tea with Jud, an online shop for her fabulous pottery and knits.


{Tignes 2011- Me, Jud and the gang on Christmas day!}


Meet Jud!

Jud lives in Scotland on a fruit farm in Blairgowrie, Perthshire and attached to her house is her own pottery workshop, which she and her friends converted with their bare hands!  Jud makes and sells knits and pots through her online shop http://teawithjud.com but this Irish chick has her sights set on her very own coffee shop and hot drinks won’t be the only thing on the menu. 


Jud’s story

Jud was born in Belfast and grew up in Randalstown, Northern Ireland. She grew up in a creative family and was taught to knit at the age of four by her Mum (cute!)  I was very jealous to hear that Jud took needlework classes at school. She laughed and told me: “I just loved making things when I was little. As long as I was making things I was happy!” After leaving school she took an art course at college and then studied 3D design and business at Manchester Met. 


How did you learn to make pottery?

She learned how throw (pottery made on a wheel, not smashing up plates) at uni.  She saved up the money she made from selling her knitted hats to buy a second hand pottery wheel in 2013.  This wheel has made mugs, bowls, butter dishes, plates, teapots, jugs and cutlery dishes *BREATHE* which can all be found and bought on her website.


{Personalised mug for a customer's teacher}


From coffee shops in Belfast to chalets in the Alps

The idea of running her own coffee shop began when Jud worked as a supervisor in an independent coffee shop called Clements for 4 years.  To get more business and managerial experience, for 3 years every winter she would work in the Alps as a chalet host and manager.

{Jud on the far left and wearing one of her hats}


Jud’s Scottish travels

Jud hopped from the Alps in the winter to Scotland in the summer were she managed a youth hostel in Tongue, on the north coast of Scotland. It gave her a chance to explore the area and she fell in love. “There was no TV and I was in the middle of nowhere so it gave me a chance to do lots of knitting and exploring!” 


                        {Jud's youth hostel}

She was so inspired by Scotland that she decided to make a permanent move to set up her dream coffee shop, where of course she will be selling her knits and pots.  

{The fruit farm!}

{Hard at work creating her workshop}

Her words of wisdom for any crafters wanting to make a living from their crafts: “Just keep going. It doesn’t matter how long it takes you to get there, you’ll get there in the end.”


{Tea with Jud workshop on the fruit farm}

Take a peek at her website for her knits, pots and hilarious blog. 

H xx